
-
-
Récupérez les 3 galets de votre ancien chariot X.
-
Montez les 2 galets supèrieur.
-
Ne montez pas le galet excentrique a cet étape !!!
-
-
-
Montez le NEMA14 sur la platine avec les vis M3x10mm (x2)
-
ATTENTION, pour un montage sur Ender5, veuillez passer un des brins de la courroie avant de monter la pièce.
-
Positionnez le moteur comme sur l'image avec le connecteur vers la droite.
-
-
-
Inserez les 2 petits roulements sur l'axe du pignon blanc.
-
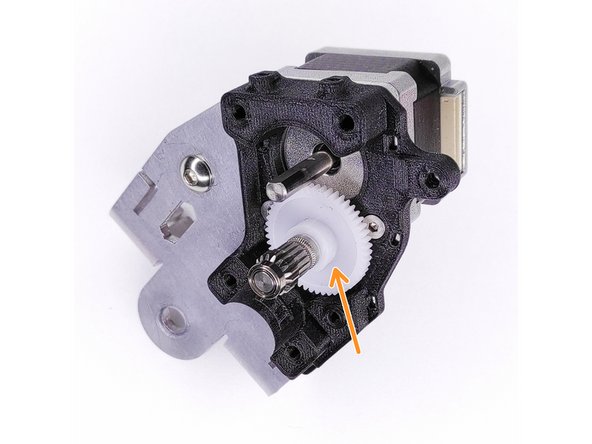
Placez le pignon blanc dans l'alesage de la pièce imprimée.
-
inserez l'axe de 3 mm ( 3 x 30mm) dans la pièce imprimée.
-
-
-
Montez sur le pignon, l'axe et les 2 petits roulements a aiguilles.
-
Placez le pignon sur la levier imprimé.Attention au sens de montage !
-
Montez l'ensemble sur l'axe de 3mm.
-
-
-
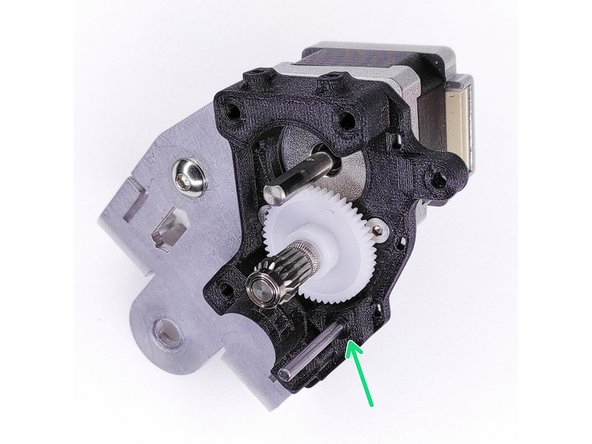
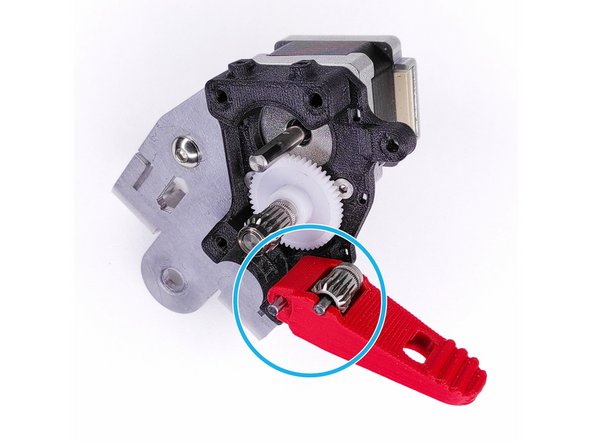
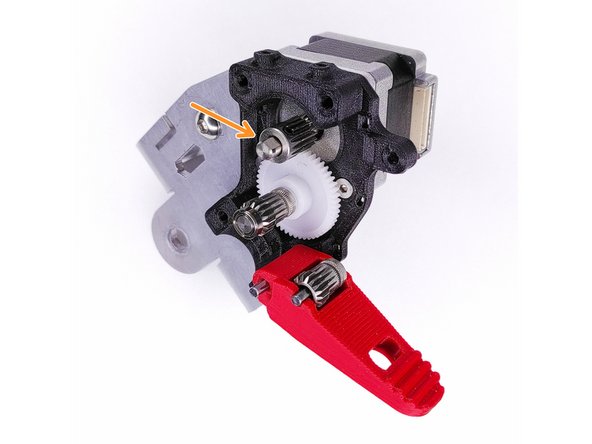
Montez le pignon moteur sur le NEMA14. .
-
Respectez une distance de 6mm entre le pignon et le bout d'arbre
-
Placez le body 2 pour refermer le MiniXtruder. Visser les vis M3x30 mm (x4) SANS les serrer.
-
-
-
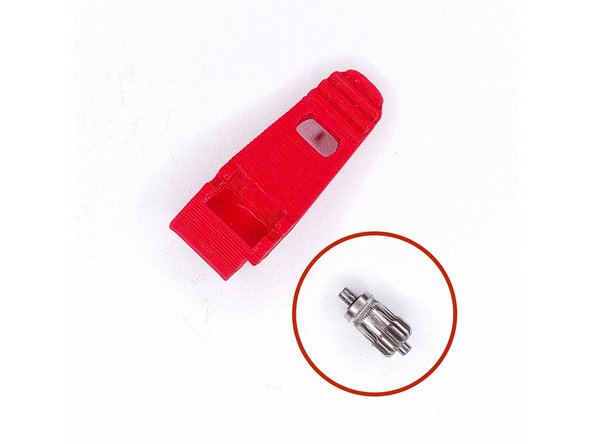
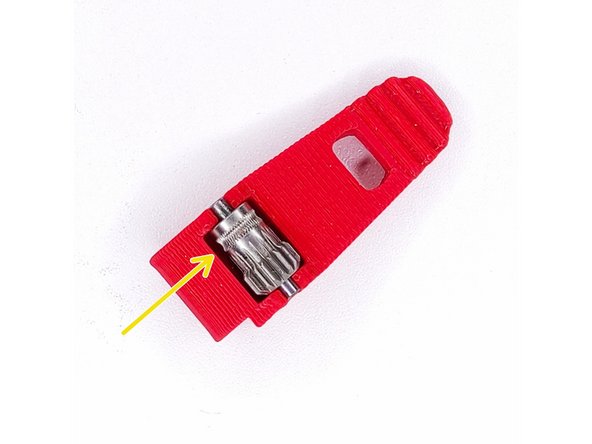
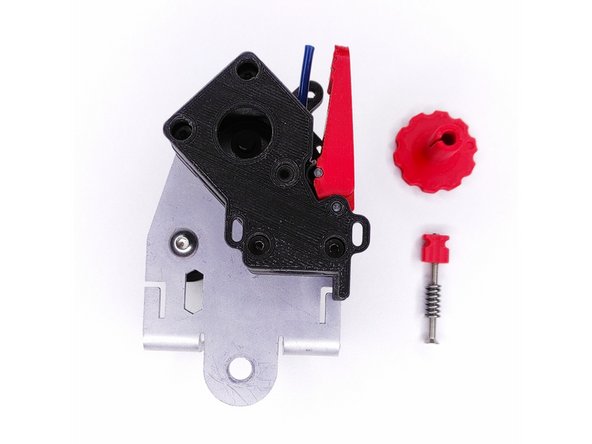
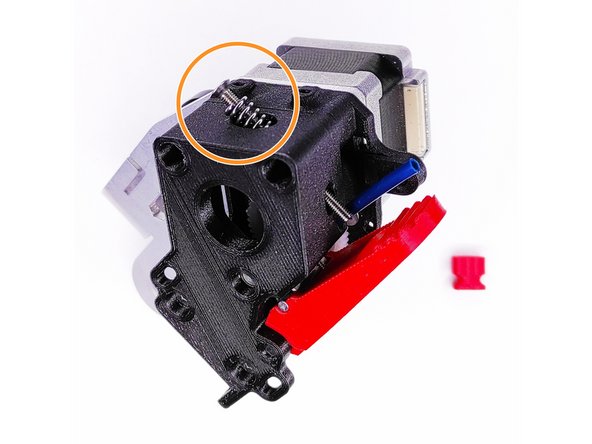
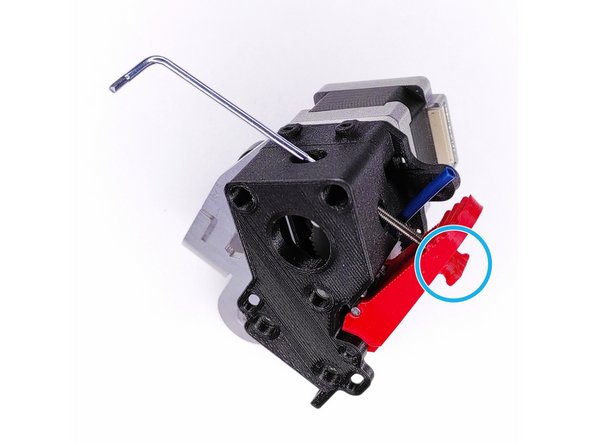
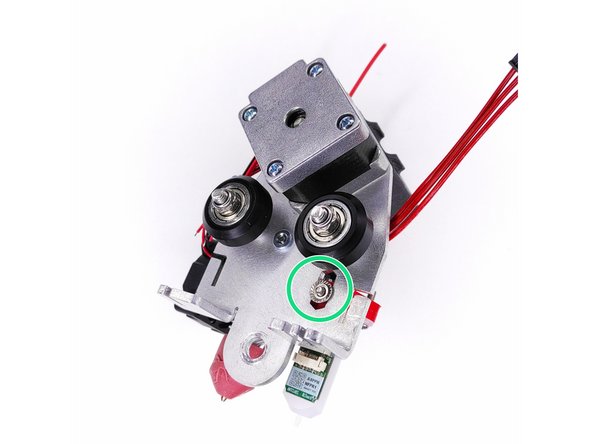
Inserez la vis M3x40 mm + le ressort dans la pièce.
-
Vissez le loquet quart de tour sur la vis.
-
-
-
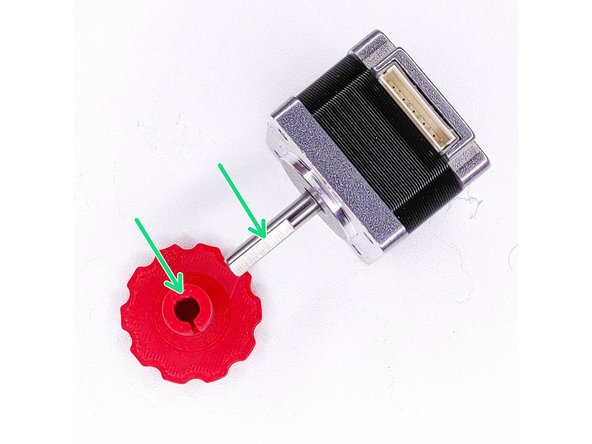
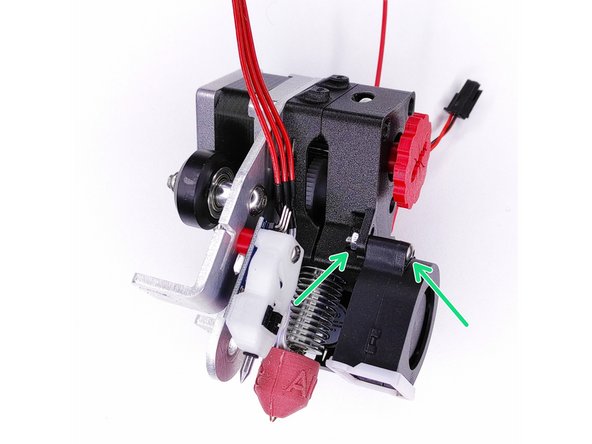
Le pignon d'extrusion manuelle est muni d'un méplat comme sur le NEMA14.Placez le sur l'axe en faisant correspondre les méplats.
-
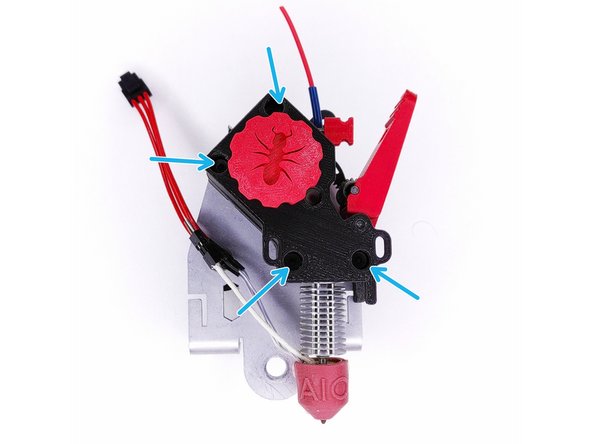
Montez votre hotend et finaliser le serrage des vis M3X30 mm (X4)
-
-
-
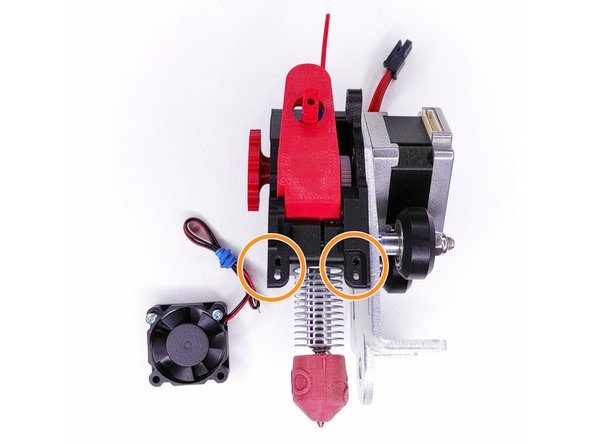
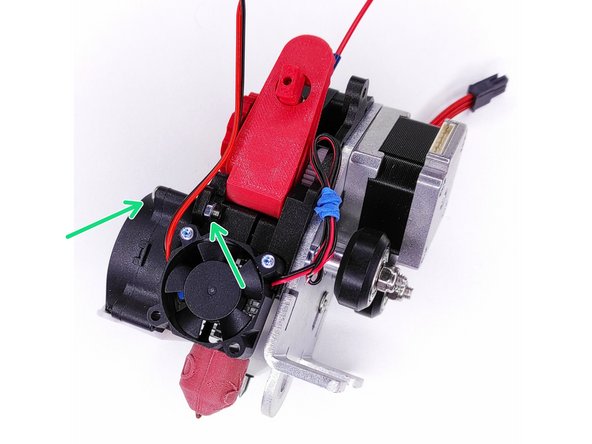
Montez le ventilateur 30x30 avec les vis thermoplastiques (x2). 2 emplacement aux choix suivant votre hotend.
-
-
-
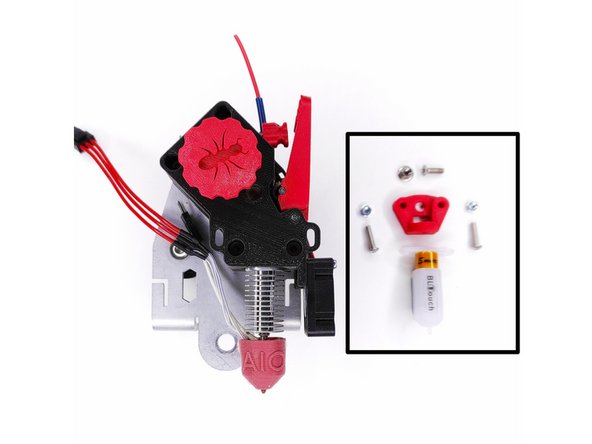
Munissez vous du capteur TouchMI, de la vis M3x20 mm, de l'écrou épaulé M3 et de l'entretoise imprimée.
-
Montez les différents éléments comme décris
-
Placez l'écrou épaulé M3 derriere la platine et vissez le capteur. Vous règlerez la hauteur du capteur une fois le MiniXtruder sur votre imprimante grace a la rainure.
-
Offset capteur : X: -32.5 mm / Y: 0
-
-
-
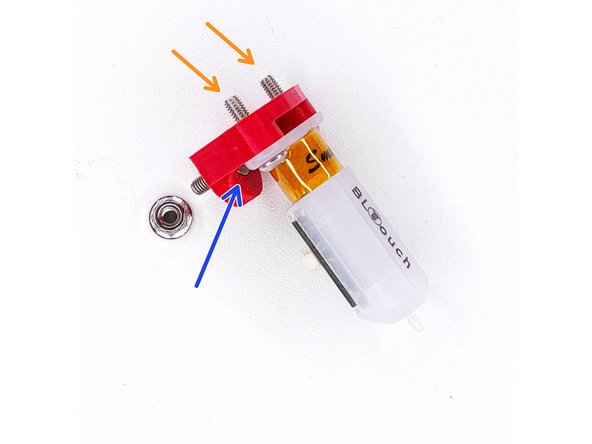
Pour monter le BlTouch, il vous faudra, écrou M3 épaulé, vis M3x10mm, vis M3x12mm (x2), écrous M3 (x2)
-
Montez en premier la vis M3x10 mm
-
Montez ensuite le BL Touch avec les vis M3x12mm et les écrous M3
-
Placez l'écrou m3 épaulé dans la rainure de la platine et fixez le BL Touch. Le réglage de hauteur du BL Touch se fera une fois l'ensemble monté sur l'imprimante.
-
Offset capteur : X: -32.5 mm / Y: 1.5 mm
-
-
-
Fixez la turbine 4020s avec les vis M3x20 mm (x2) et les écrous M3 (x2)
-
Placez le fan duct aimanté sur la turbine.
-
-
-
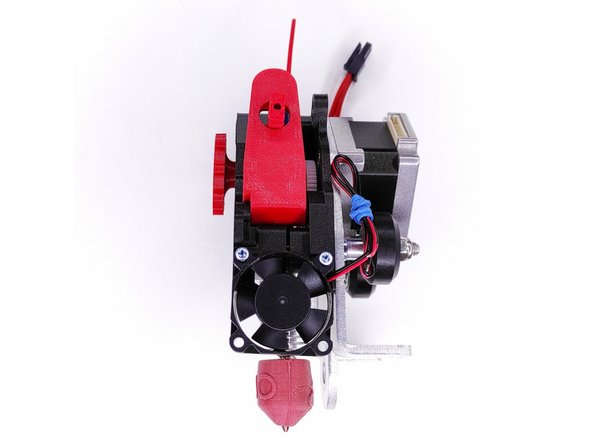
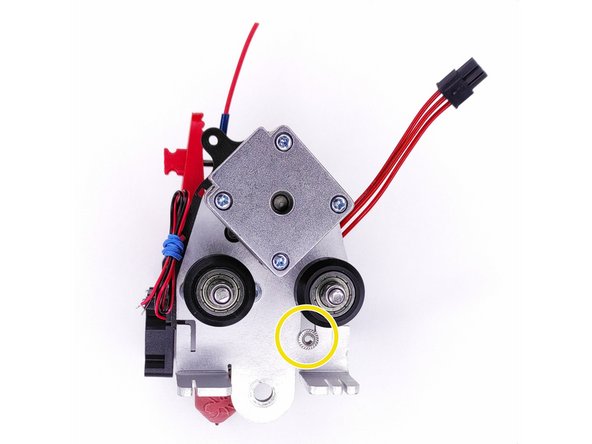
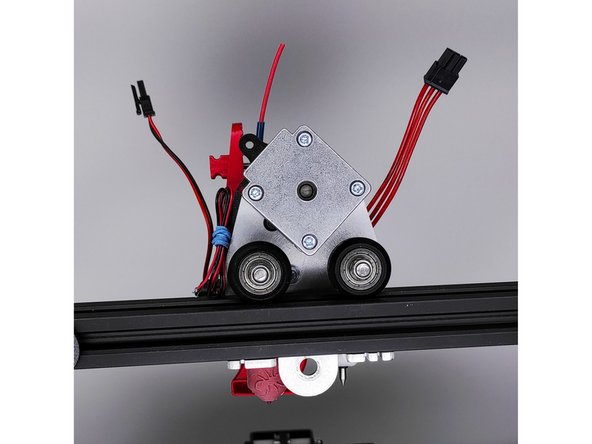
Placez l'assemblage sur le rail 20x20 de votre imprimante.
-
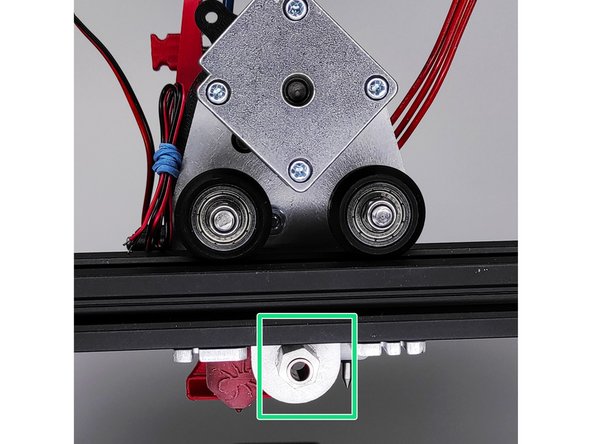
Montez l'excentrique et le galet sur la platine.
-
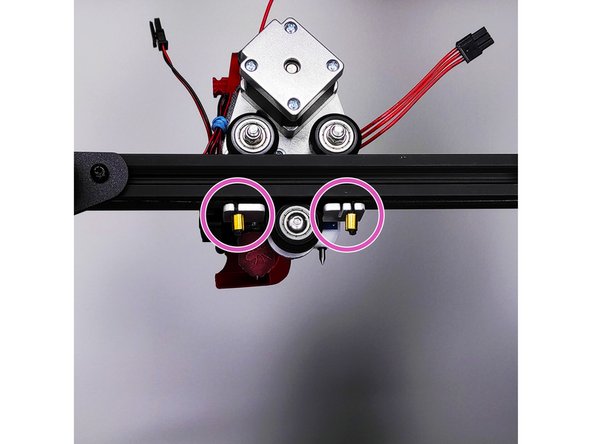
Réglez le jeu du chariot en agissant sur l'excentrique avec une clé de 10 mm. Le chariot doit bouger sans jeu.
-
Attention, sur le galet infèrieur l'écrou se place devant la platine.
impossible to reassemble the eccentric..the part of the eccentric nut which protrudes must engage in the plate, no?
when I put everything back together the carriage is not at all parallel to the 20*20 rail...and my eccentric does not engage at all in the plate, I even damaged the hole in the plate...
I really don't understand how to get this eccentric back together....
Nicolas VAUTIER - Resolved on Release Reply
Be careful to tighten the nut sufficiently, otherwise the motor will collide with the vertical bars.
Hello, there are no problems, just that I had not tightened the screws enough, which meant that the motor could not exceed the uprights. By tightening the bearing screws well there are no more problems, I did not understand right away and I thought that posting the comment could help others! Good job in any case.
I would like to point out that I have an Ender 3 pro.
Olivier -
-
-
-
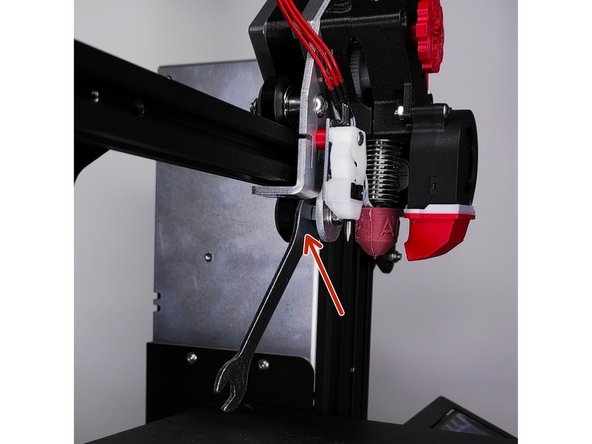
Positionnez votre courroie sur le bas de la platine.
-
Tendez votre courroie.
-


Cancel: I did not complete this guide.
One other person completed this guide.
9 Comments
Hello. Was it intentional to put 10cm long wires on the fans? There is some soldering work… I don’t have what it takes for that I thought at least there would be some length or connectors? But no… stuck at the last step… Too bad a little disappointed by the savings on wire. If I had to add €2 I would have done it, it would have saved me more hassle.
Hello, In the description you give 0.7/0.8V, is this the value to use with which Drivers? I have TMC2208 and TMC2209
Thank you, have a nice day
Jordan ALLIANCE
Jordan Alliance - Resolved on Release Reply
Hello, currently installing on my cr-10S. Question regarding the connection of the nema14 motor instead of the original nema17. The nema 17 extrusion motor output consists of 4 black wires on a 6-pin female JST connector and the nema 14 motor cable on a 4-pin female JST connector… So I'll have to adapt… I have what I need in connectors to do the job but how do I identify the cables for the connection?
Hello, Use the cable supplied with the MiniXtruder, it is already wired correctly for plug&play use.
Sincerely
-
Hello, do you need to adapt the vref of the extrusion motor when installing this kit on a CR-10S (changing from the Nema17 motor to the Nema14 slim)?
Hello, I installed it on a cr10s pro. Do I need to adjust the motor mounting on the motherboard? If so, by how much?
jerome Sienkiewicz - Resolved on Release Reply