
Introduction
This guide demonstrates how to create a guide page.
-
-
Click on your username in the top right corner of the site.
-
Select Create A Page from the drop-down menu.
-
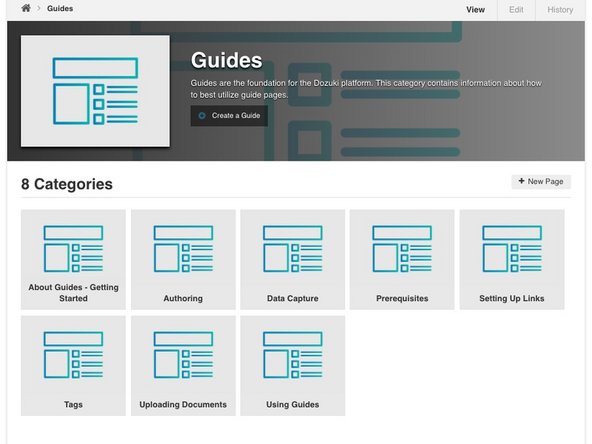
If you are already on the category page in which you intend to organize your new guide, you can simply click the Create a Guide button at the top of the page.
-
-
-
Select Guide from the Page Options list.
-
Enter the name of the category you'd like to organize your new guide within.
-
If the category already exists, it will appear in a drop-down list below the text box. Select the your category from the list.
-
If the category does not already exist, a new category page will be created.
-
Click Next.
-
-
-
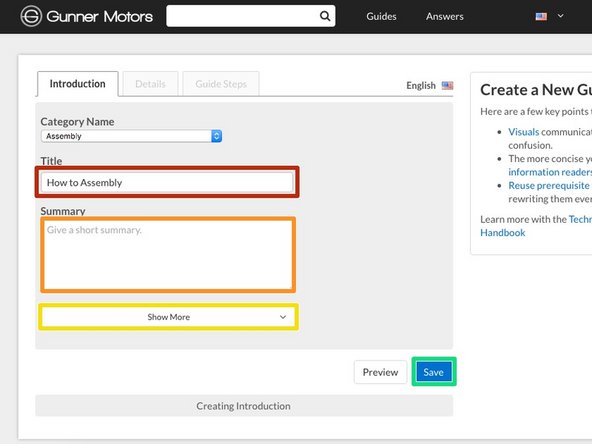
Enter a Title for your new guide.
-
Add a summary to briefly explain what the guide will demonstrate.
-
If you would like to add other information at this time, such as an introduction or flags, click Show More.
-
Review the Parts of a Guide Page to better understand the various elements that make up a guide.
-
When finished adding information, click Save.
-
-
-
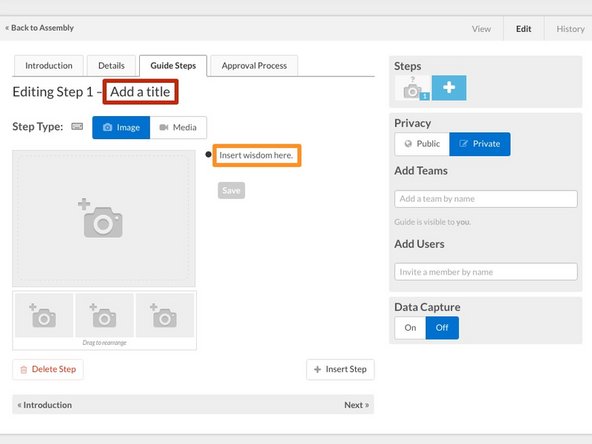
Begin creating the body of your guide by creating your first guide step.
-
Click on the Add a Title text to enter a title for your first step.
-
Click on the Insert wisdom here text to enter your first bullet point text instructions.
-
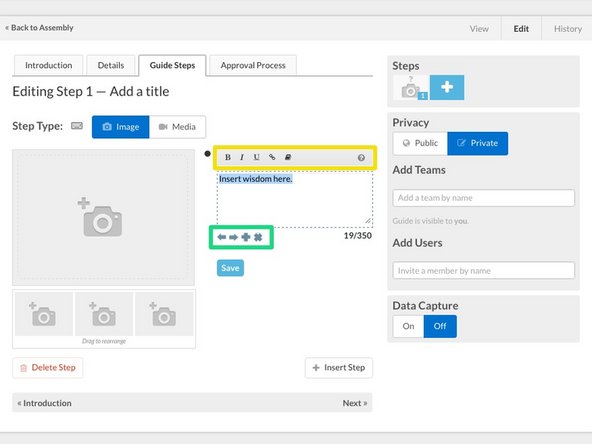
Use the formatting toolbar at the top of the text editing box to format your text or add links.
-
Use the arrows below the text box indent your bullet. Use the + icon to create a new bullet and the X icon to delete the bullet.
-
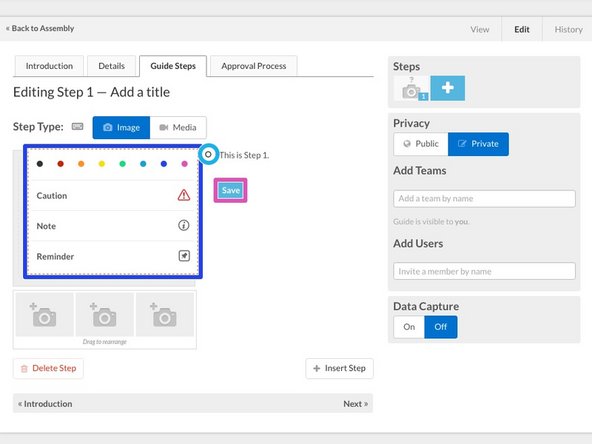
Click on the bullet icon itself to change the color or icon for the bullet.
-
Select from the color/icon menu to change your bullet point.
-
Click Save to create your first step!
-
-
-
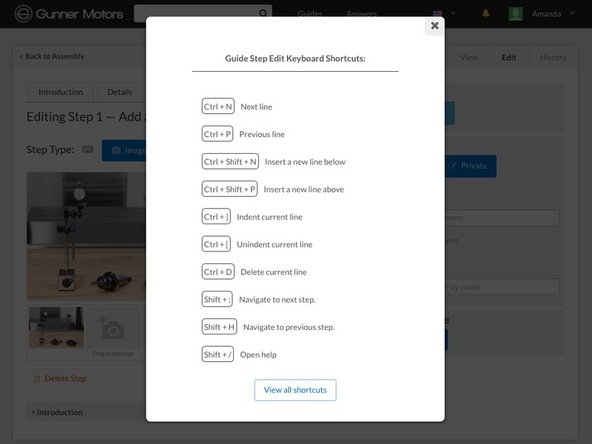
Click the keyboard icon at the top of the guide to open a Keyboard Shortcuts pop-up window.
-
Use these (and others listed in the KeyBoard Shortcuts window) to quickly navigate while creating guide steps:
-
Return: Next bullet or insert new bullet.
-
Shift + Return: Previous Bullet or Insert Bullet Above
-
Ctrl + ]: Indent bullet.
-
Ctrl + [: Unindent bullet.
-
Ctrl + D: Delete bullet.
-
-
-
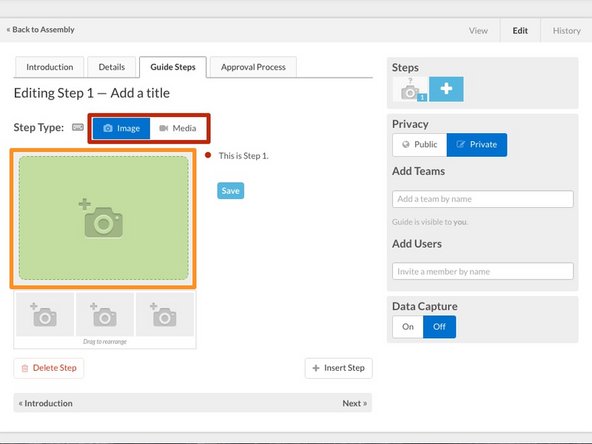
Select from either Image or Media to add to your step below the step title.
-
You can add up to three images per step, while video and other media is limited to one file per step.
-
Click the image or media placeholder to open your Media Manager.
-
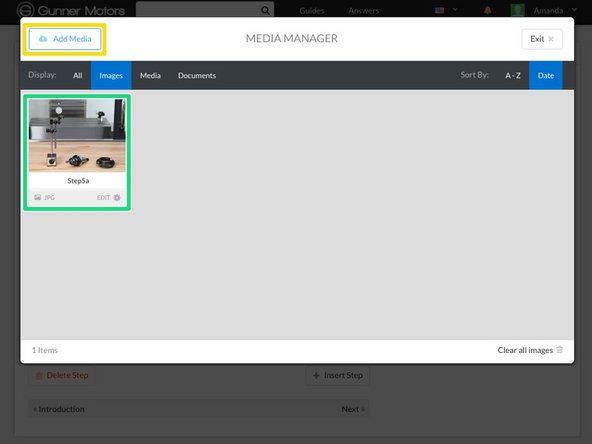
Click the Add Media button to add a new image or video to your library. Review the Media Manager Help Page for more information about using media.
-
Select the image or media 'file from your library by clicking on it. This will add it to your guide step.
-
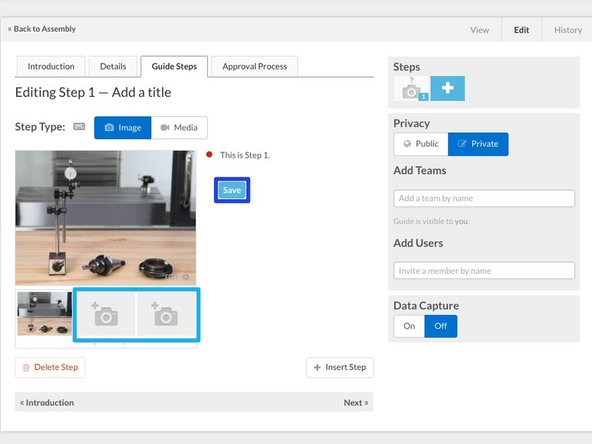
If you are using images, you can use the two remaining image placeholders to add up to three images to your step.
-
Click Save to save your visual guide step.
-
-
-
Note: Markup cannot be added to videos or other media.
-
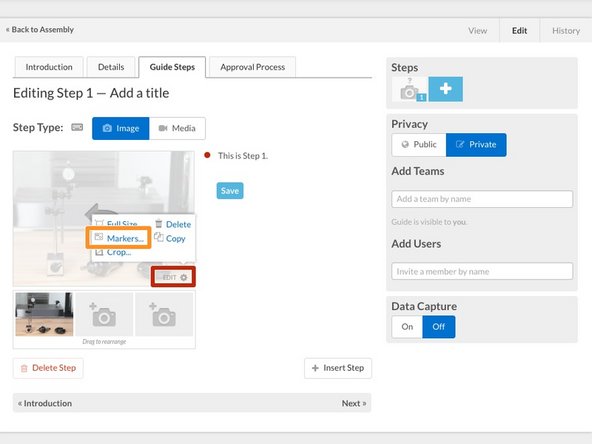
Move your curser over your new guide step image, then click the Edit button in the bottom right corner.
-
Select the Markers option from the menu that appears to open the Markup Window.
-
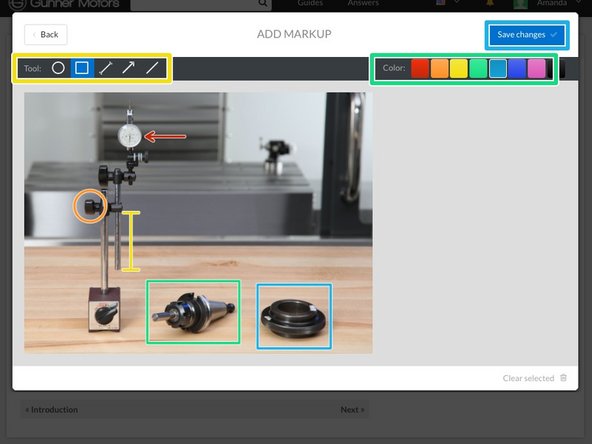
Use the Tool menu at the top left to select a shape, line or arrow marker, then simply click the image where you'd like to add the marker and adjust the size, shape and orientation as needed.
-
Use the Color menu at the top right to select a color for your new marker.
-
Once you've created all desired markers, click the Save Changes button in the very top right corner of the Markup Window.
-
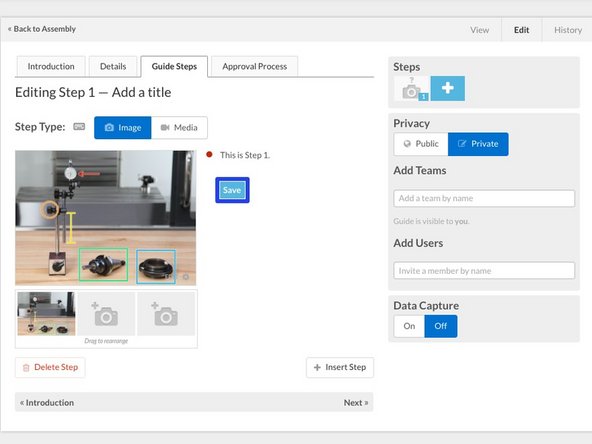
View your new image with the markup and click Save to save it to your guide step.
-
-
-
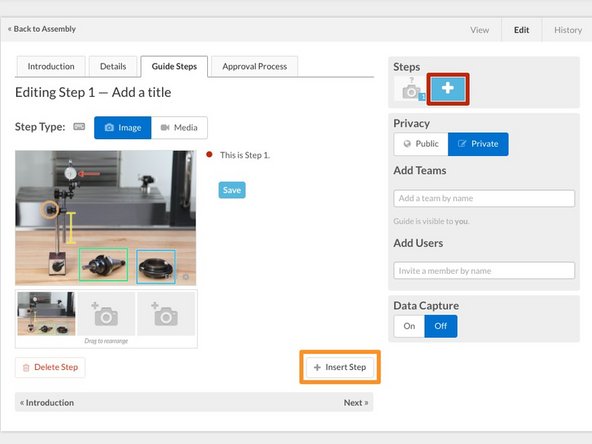
Click the + icon in the Step section at the top right corner of the page to add a new step. This option will always add the new step to the end of the guide.
-
You can also use the + Insert Step button to add a new step immediately after the step you're currently editing, rather than at the end of the guide.
-
-
-
Review Parts of a Guide Page to add further detail to your guide.
-
Use the remaining Help Guides to review specific topics, including:
-
-
-
-
-


To reassemble your device, follow these instructions in reverse order.
To reassemble your device, follow these instructions in reverse order.
Cancel: I did not complete this guide.
One other person completed this guide.